Assignment 9: Cross-fade away
In which, we implement several popular techniques
Due Friday, Nov 19, before midnight
The goal of this lab is to
-
Align motion sequences for blending
-
Implement cross-fade
-
Implement video-game character controls
-
Implement the two-link analytic IK algorithm from class
Get the source
On Github, do a Fetch Upstream to synchronize your forked repository with the class repository.
Then update the source on your local machine and rebuild.
> git pull
> cd build
> cmake ..; make
1. Crossfade
In the file, crossfade.cpp, you will implement crossfade transitions between two motions.
To run the demo from the build directory, type
build> ../bin/a8-crossfadeThis executable takes command line arguments. By default, the above will load walking.bvh and jump.bvh with a 10 frame transition between them.
../bin/a8-crossfade [-m1 <motion1>] [-m2 <motion2>] [-nframes <num transition frames>]Implement your solution in crossfade(int numBlendFrames). This method should generate a
new motion, stored in the instance variable _blend, that blends from _motion1 to _motion2
over numBlendFrames frames. In your case code, the corresponding frames from motion1 and
motion2 are computed for you.
You should build up your solution in steps and define methods to keep your code cleaner.
1.1. Append
To start, simply create a new motion which combines the keys from walk with the keys from jump.
1.2. Crossfade
So far, the transition snaps from the first motion to the
second motion. Now implement the crossfade. This function
should blend the frame between motion 1 and motion 2 and append the blended frames to
_blend.
Now, your assignment should look as follows: the motion is smooth but the character slides to the origin to play the jump motion.
1.3. Align
Now we have a smooth result but the jump unrealistically
moves back to the origin. We want the jump to occur at the character’s current location!
We will fix this by aligning the sequence from motion 2 with the start transition key from
motion 1. Note that you can re-use the logic from reorient!
You can also implement this in steps. For example, first translate the keys so that the second sequence is aligned with the first sequence.
However, note that blending between a turn and jump still doesn’t work! Let’s fix that.
Reorient the keys (e.g. rotate and translate) so that the second sequence is aligned with the first. Now your blend should look good in all cases.
| Testing tip A correct crossfade should return the original motion whenever you crossfade between the same motion. For example, try blending two walk motions over the starting 10 frames. The result should look identical to the original motion. |
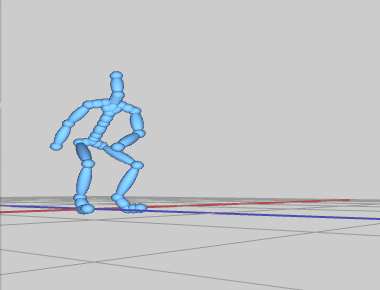
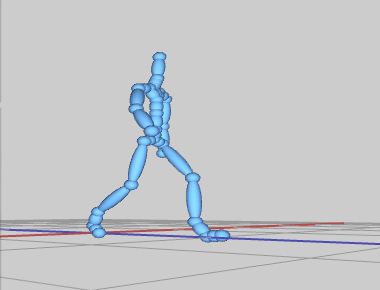
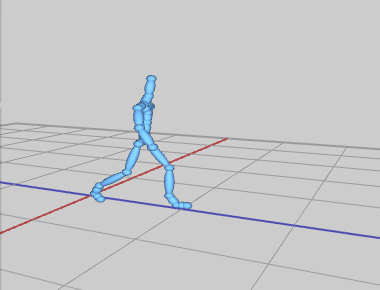
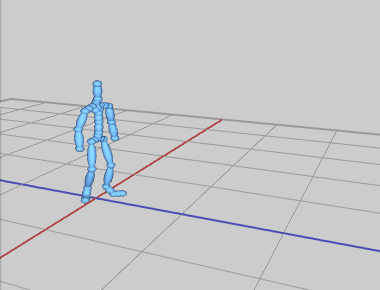
2. Controller
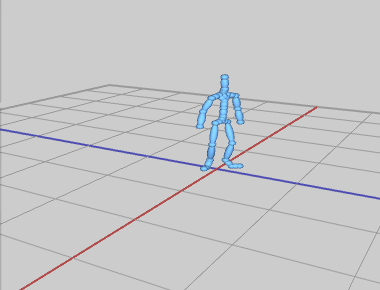
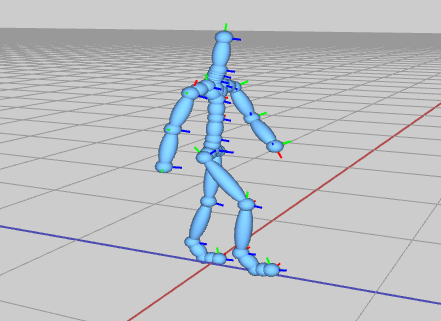
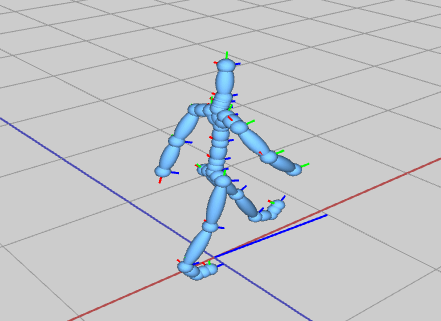
In the file, controller.cpp, implement a character that can be controlled using the keyboard.
We will use the motion from motions/Beta/walking.bvh to animate the body but
the root will be animated based on keyboard input.
To run the demo from the build directory, type
build> ../bin/a9-controllerControls:
-
Pressing 'a' will turn the character left
-
Pressing 'd' will turn the character right
The user can change the heading of the character by pressing 'a' and 'd' keys. This has been implemented for you in the basecode. Again, we will build this demo up in steps
Pin the root
Modify the pose of the skeleton so that the character’s body animates but does not move.
Turn the body to match the heading
Modify the pose of the skeleton so that the character rotates with the heading
Set the camera to follow the character
When we update the character, modify the camera position and look target so that it’s behind the character’s head. Use the global position of the character’s head to compute positions for the camera. You will need global positions for the camera’s position and for the target where the camera is looking.
vec3 globalPos;
vec3 globalLookPos;
...
lookAt(globalPos, globalLookPos, vec3(0,1,0) /*up*/);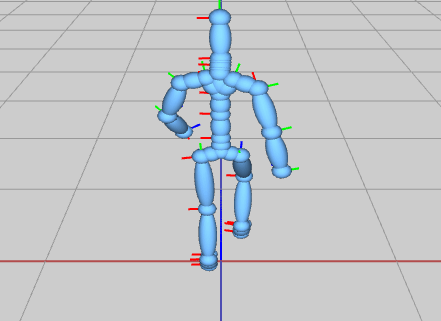
Update the character position
Modify the pose of the skeleton so that the character both rotates and moves with the heading. Update the position of the skeleton’s root similarly to how you animated a particle to move in a straight line. In this case, velocity is based on the heading and the desired speed.
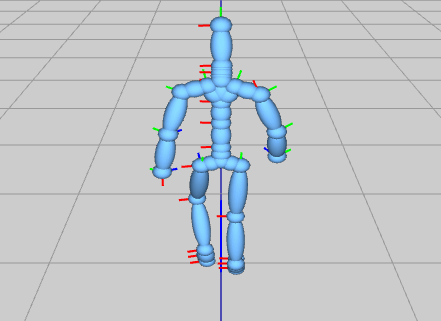
3. Two-link analytic method
In the file, twolink.cpp, implement a two-link kinematic chain using the algorithm from class.
// Place the Skeleton's end effector at goalPos
// Skeleton will contain a two-link chain
// Assume joint 0 is the root
// Assume joint 1 is the middle joint
// Assume joint 2 is the end effector
void solveIKTwoLink(Skeleton& skeleton, const vec3& goalPos)
To run the demo from the build directory, type
build> ../bin/a9-twolink| When you change the local rotation of a joint, you must call fk() to update the global rotations and translations. |
When implementing solveIKTwoLink(), it is best to approach the task systematically. For example,
-
First, set the goal position to something along the x axis. For example, set the goal position to (100,0,0) in the UI.
-
Solve for \(\theta_{2z}\) and set the rotation for the elbow. If done correctly, the distance between the wrist and root will match the distance between the goal position and the root. Print out the distance between the wrist and shoulder. It should be 100.
-
Next, solve for \(\theta_{1z}\) and set the rotation for the root. If done correctly, the wrist should be at the desired position exactly.
-
-
Last, solve for full root rotation in terms of \(\gamma\) and \(\beta\). Once correct, the wrist position should match the goal position — so long as it is in reach.
The basecode includes a simple interface and 3D viewer. See above for a demo.
The camera can be controlled with the mouse:
-
Left-button drag with the mouse to rotate
-
Right-button drag with the mouse to pan
-
Middle-button drag with the mouse to zoom
The player control panel on the top left can be used to move the goal position.
4. Unique
Personalize one the demos from this assignment. Below are some ideas:
-
Support more actions for your character, such as jumping
-
Modify your character to carry something
-
Create a trailing effect for your character
-
Create a unique looking character or environment.
-
Animate 2-link arm capable of catching an object
-
Create a character animated procedurally using IK
5. Hand-in your work
5.1. What to hand-in
-
Your code
-
Images, movies, gifs, as appropriate
-
Your readme
5.2. How to hand-in
Check-in your code, images, and writeup and push the changes to Github. If everything is uploaded correctly, you will see your work on Github.
> cd animation-toolkit
> git add <files>
> git commit -m "helpful message"
> git push
Best practice is to always commit changes as you work, rather than waiting until the end to commit changes. You can always revert to an old version if you need to!
Your code should download and compile without modifications. Test your assignment on a lab machine (Park 230) to ensure that it works.
5.3. Generating images, movies and gifs
Screenshots
On Ubuntu, you can take a screenshot by
-
Prt Scrn to take a screenshot of the desktop.
-
Alt + Prt Scrn to take a screenshot of a window.
Gifs
On Ubuntu, you can use Peek to create gifs.
Movies
On Ubuntu, you can use recordmydesktop to record movies in .ogv format.
By default, the whole desktop is recorded unless you give it a window id.
To get the window id, call xwininfo and click on the window. Then pass the
id to recordmydesktop.
> recordmydesktop --windowid <WindowId> --no-sound --v_quality 30 -o <name>.ogvTo check the video, open it in firefox.
> firefox <name>.ogv| Files larger than 100 MB cannot be checked into git. In general, videos should be less than 5 MB. |
5.4. Update your Readme.md
Update assignments/a9-ik/Readme.md to document the features in your assignment. Your readme should contain your images, gifs, and movies.
On github, you can drag and drop movies into your readme files. Images and gifs can also be added that way, or by including text such as the following
This Guide can help you with writing markdown.