Assignment 4: You spin me round
In which, euler angles and rotation matrices become part of our 3D programming skillset
Due Friday, Oct 8, before midnight
The goals of this lab are to
-
Understand the matrix form of euler angles
-
Understand how to get euler angles from a rotations matrix
-
Implement euler conversions
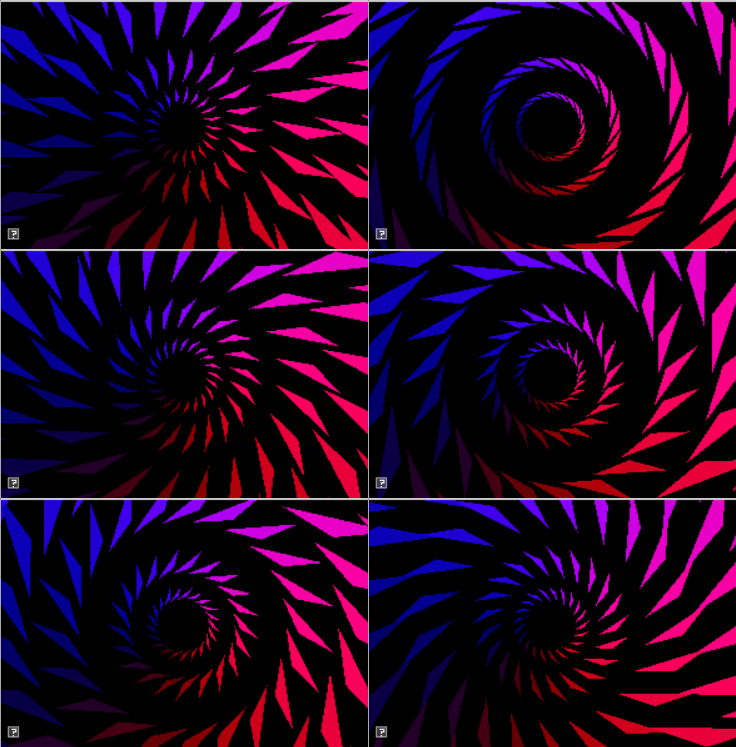
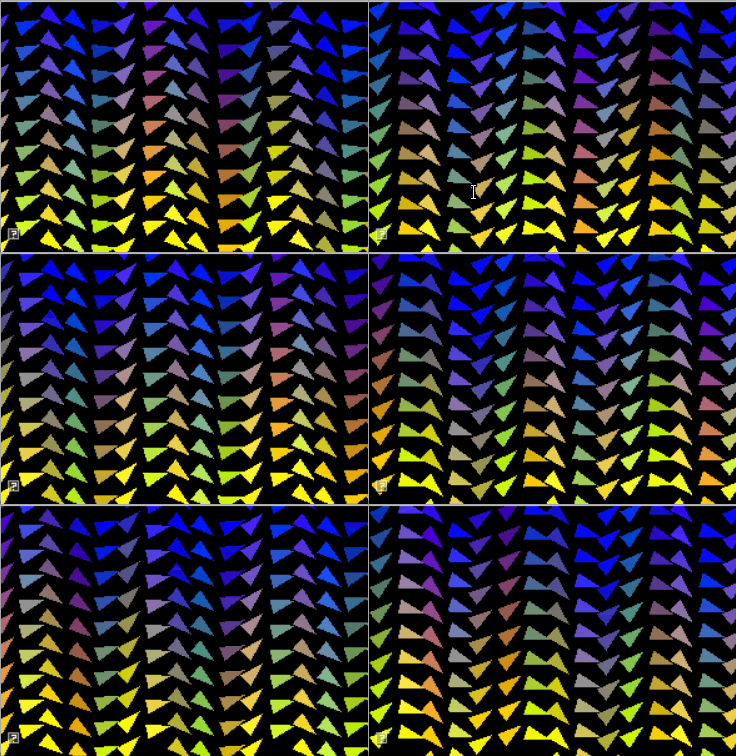
In this assignment, you will implement conversions between euler angles and matrices. To help test your conversions, you have been given a grid of spinning teapots as well as a console program for unit testing.
In the teapot viewer, you should see a grid of teapots. The UI on the top left allows you to enter test values. Each teapot tests a conversion function. This week, you will implement 6 of the teapots to match the top right. In your next assignment, you will implement the remaining two teapots.
| For this assignment, you do not need to implement the quaternion conversions that animate the bottom, left two teapots. |
| To type a value into the GUI’s slider, do control+<left click> |
Get the source
On Github, do a Fetch Upstream to synchronize your forked repository with the class repository.
Then update the source on your local machine and rebuild.
> git pull
> cd build
> cmake ..; make
1. Euler to Matrix
In the file libsrc/atkmath/matrix3-basecode.cpp, implement the conversions from euler angles to a matrix.
In this assignment, you will complete the implementations for Matrix3 in libsrc/atkmath. You do not need to modify assignments/a4-euler/teapots.cpp or assignments/a4-euler/test_euler.cpp.
|
To start, implement the function Matrix3::fromEulerAnglesZYX(). This function
takes a parameter called angleRad which stores euler angles as a 3-tuple
-
angleRad[0] contains the rotation around the X axis (in radians)
-
angleRad[1] contains the rotation around the Y axis (in radians)
-
angleRad[2] contains the rotation around the Z axis (in radians)
| You will be implementing many similar functions. I recommend you add methods or functions to compute Rx, Ry, and Rz matrices. |
In matrix3.h, you will see that Matrix3 supports two types of syntax for accessing elements: indexing or by element name. For example,
std::cout << mM[0][0] << std::endl; // indexing notation
std::cout << m11 << std::endl; // lecture matrix notation
mM[row][col] = 0.4;
m11 = 3;-
Implement
Matrix3::fromEulerAnglesZYX() -
Implement
Matrix3::fromEulerAnglesXYZ() -
Implement
Matrix3::fromEulerAnglesXZY() -
Implement
Matrix3::fromEulerAnglesYZX() -
Implement
Matrix3::fromEulerAnglesYXZ() -
Implement
Matrix3::fromEulerAnglesZXY()
Use the utility test_euler.cpp to help you implement your methods. Note that you can add more tests to this utility to help debug special cases!
build> ../bin/a4-test-eulerWhen a test fails, it prints the expected value followed by the computed value, for example,
ZYX
  TEST FAIL
  0 0 1
0 -1 0
1 0 0

  1 0 0
0 1 0
0 0 1
2. Matrix to Euler
In class, we derived recipes for extract euler angles from XYZ and ZYX rotation matrices. In this question, derive the remaining formulas for extracting euler angles and implement them in your basecode.
In your implementation, be carefull of edge cases around 90 degrees!
-
Implement
Matrix3::toEulerAnglesZYX() -
Implement
Matrix3::toEulerAnglesXYZ() -
Implement
Matrix3::toEulerAnglesXZY() -
Implement
Matrix3::toEulerAnglesYZX() -
Implement
Matrix3::toEulerAnglesYXZ() -
Implement
Matrix3::toEulerAnglesZXY()
To run the teapots from the build directory, type
build> ../bin/a4-teapotsTo run the unit tests from the build directory, type
build> ../bin/a4-test-euler| Implement the special cases (e.g. when the middle angle is 90 or -90 degrees) after implementing the main algorithms for each case. |
3. Be Unique!
Implement your own unique animation or image in a4-euler/unique.cpp. Some ideas:
-
Make a demo with rotating objects
-
Make a cone that follows a trajectory
-
Create a shape whose orientation and position is controlled using the keyboard


4. Hand-in your work
4.1. What to hand-in
-
Your code
-
Images, movies, gifs, as appropriate
-
Your readme
4.2. How to hand-in
Check-in your code, images, and writeup and push the changes to Github. If everything is uploaded correctly, you will see your work on Github.
> cd animation-toolkit
> git add <files>
> git commit -m "helpful message"
> git push
Best practice is to always commit changes as you work, rather than waiting until the end to commit changes. You can always revert to an old version if you need to!
Your code should download and compile without modifications. Test your assignment on a lab machine (Park 230) to ensure that it works.
4.3. Generating images, movies and gifs
Screenshots
On Ubuntu, you can take a screenshot by
-
Prt Scrn to take a screenshot of the desktop.
-
Alt + Prt Scrn to take a screenshot of a window.
Gifs
On Ubuntu, you can use Peek to create gifs.
Movies
On Ubuntu, you can use recordmydesktop to record movies in .ogv format.
By default, the whole desktop is recorded unless you give it a window id.
To get the window id, call xwininfo and click on the window. Then pass the
id to recordmydesktop.
> recordmydesktop --windowid <WindowId> --no-sound --v_quality 30 -o <name>.ogvTo check the video, open it in firefox.
> firefox <name>.ogv| Files larger than 100 MB cannot be checked into git. In general, videos should be less than 5 MB. |
4.4. Update your Readme.md
Update assignments/a4-euler/Readme.md to document the features in your assignment. Your readme should contain your images, gifs, and movies.
On github, you can drag and drop movies into your readme files. Images and gifs can also be added that way, or by including text such as the following
This Guide can help you with writing markdown.